Layout
The layout editor lets you build a visual representation of your model train layout on a grid. This track plan is used in the throttle to show real-time accessory states and track occupancy, and in automation scripts to reference accessories and feedback sensors.
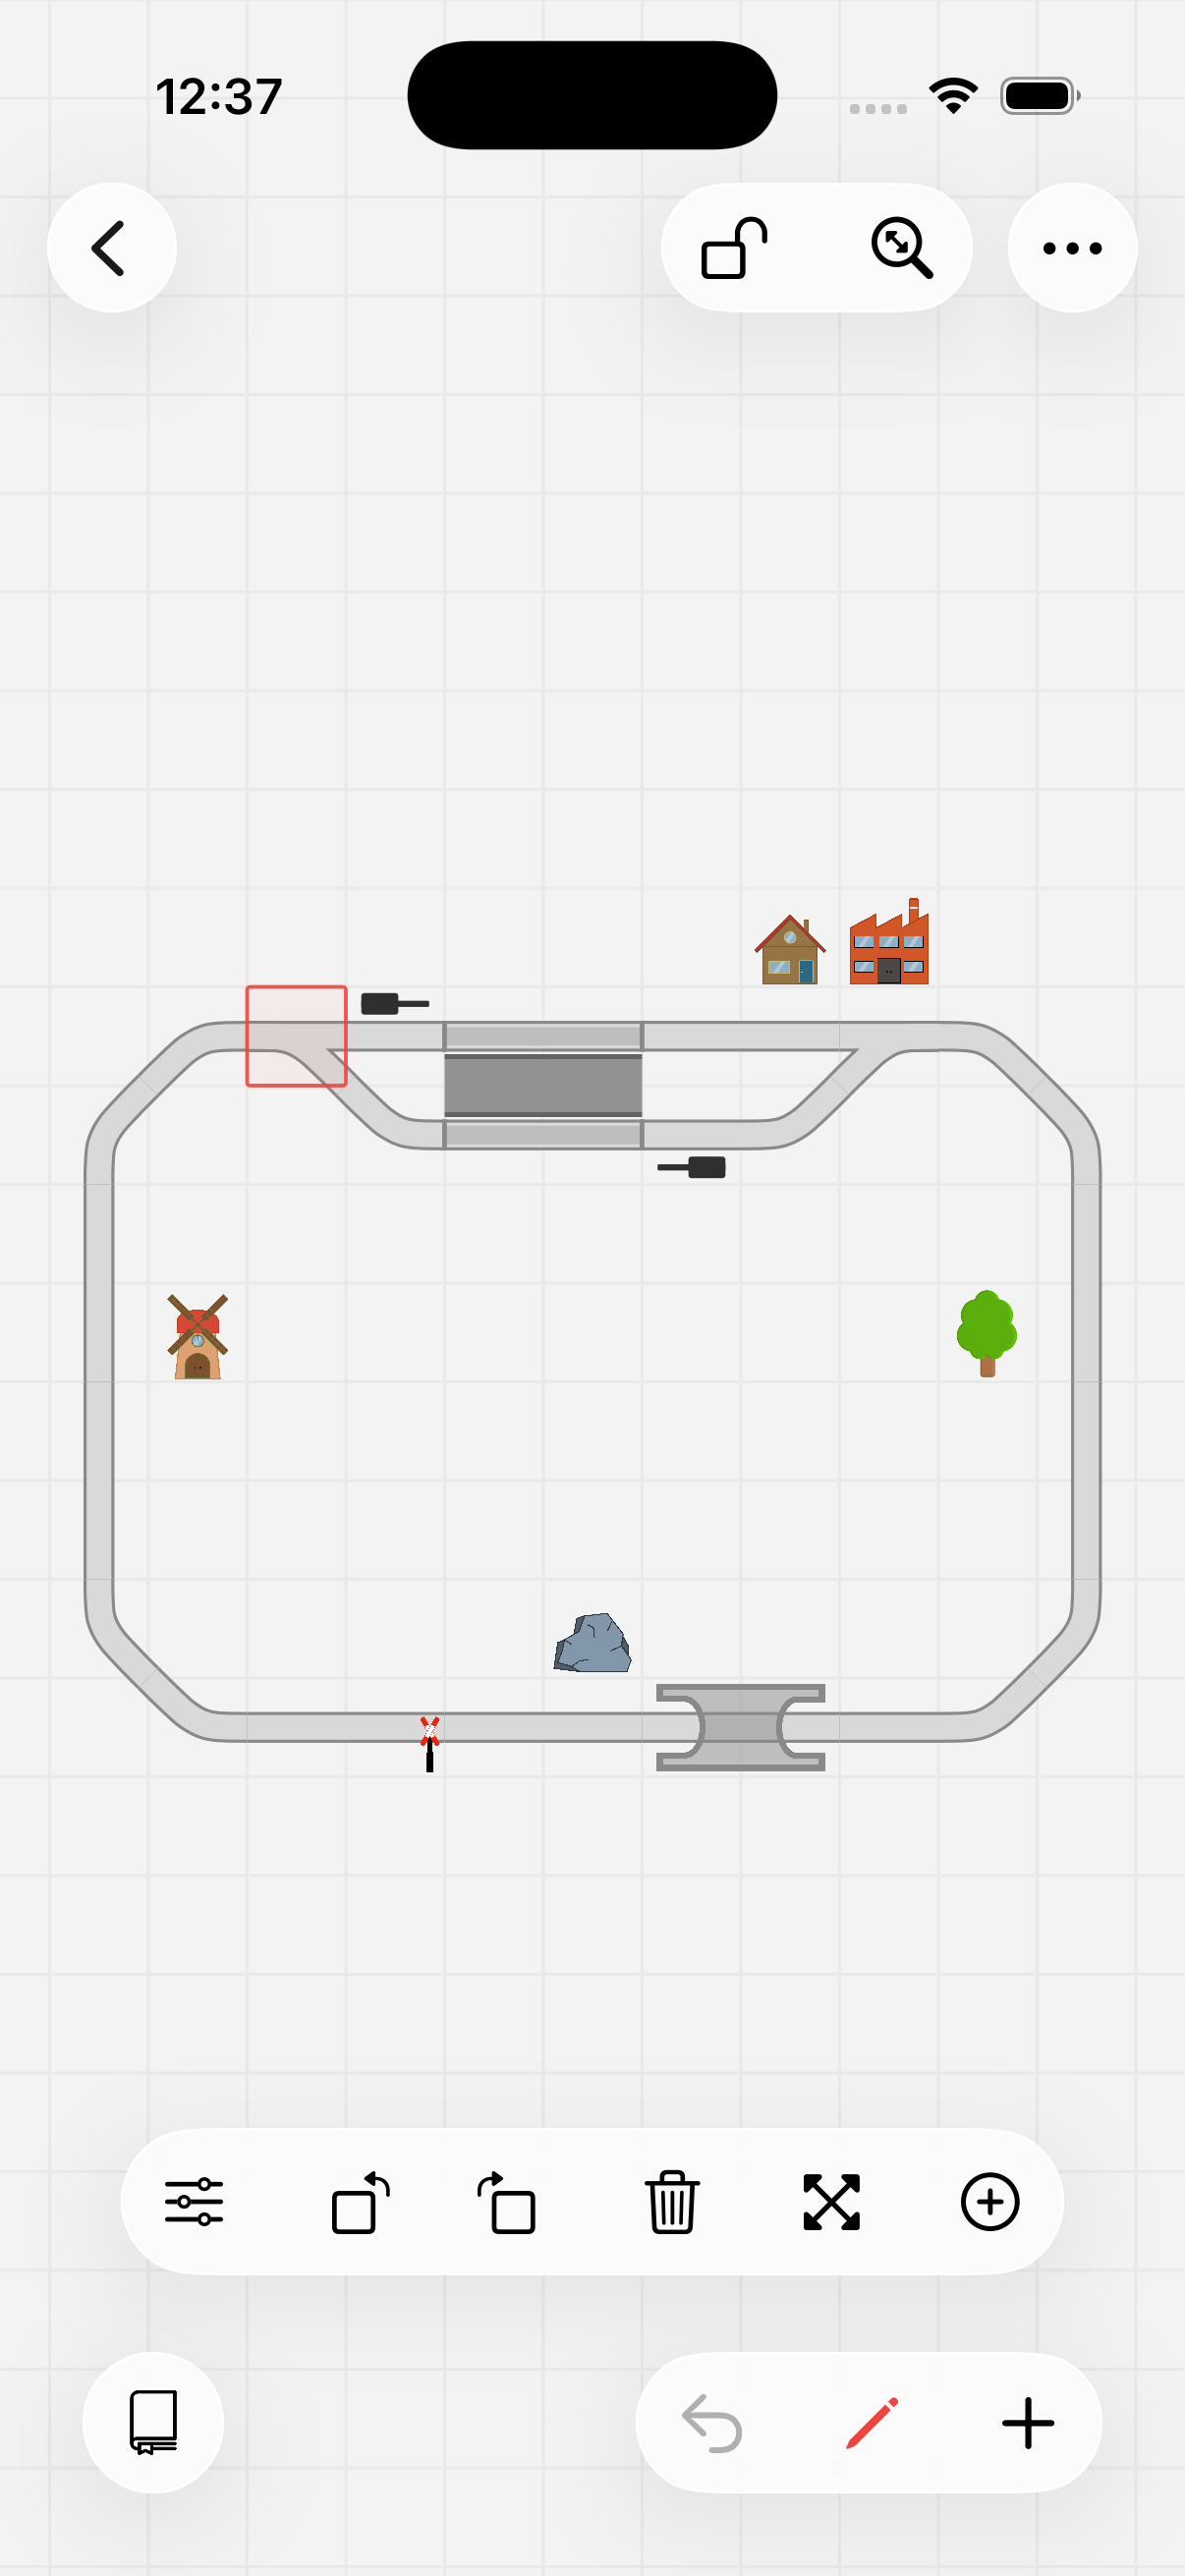
Editing the example layout
Available items
| Category | Items | Configurable |
|---|---|---|
| Track | Straight, Corner, Wide corner, Platform, Bumper | Feedback sensor |
| Turnouts | Left, Right, Three-way, Double slip switch, Turntable | Accessory, Feedback sensor |
| Signals | Light signal (6 states), Semaphore (3 states), Crossing | Accessory (dual), Feedback sensor |
| On-track items | Track sensor, Track switch, Track route, Uncoupler | Accessory, Feedback sensor, Route |
| Standalone items | Switch, Sensor, Route, Shortcut, Camera, Variable | Accessory, Route, Shortcut, Camera, Variable |
| Scenery | House, Factory, Windmill, Tree, Rock, Pond, Lion, Label | Accessory (some) |
| Bridges | Bridge start, Bridge section, Bridge crossing | Feedback sensor |
| Tunnels | Tunnel start, Tunnel section | Feedback sensor |
All items can be rotated in 45-degree steps. Items with track connectivity connect to neighboring items to form your rail network.
Adding items
Tap the + button in the bottom-right corner. A toolbar appears with all available items — select the one you want, then tap anywhere on the grid to place it. Tapping an occupied cell replaces the existing item.
Editing items
Tap the pencil button in the bottom-right corner to enter edit mode. Then tap an item to select it — the edit toolbar appears. Tap the selected item again to open its configuration sheet.
| Action | Description |
|---|---|
| Edit | Open the configuration sheet for the selected item. |
| Clone | Duplicate a configured item. Tap to select the source (blue border), then tap an empty cell to place the copy with all its settings. |
| Rotate | Rotate the item clockwise or counter-clockwise in 45-degree steps. |
| Move | Drag the item to a new position on the grid. |
| Delete | Remove the item from the layout. |
Use undo to revert any action.
Item configuration
Depending on the item type, the configuration sheet offers different options:
Name
Turnouts, signals, switches, sensors, routes, and variables can have a short name (up to 6 characters) that is displayed on the layout. This makes it easy to identify items at a glance.
Accessory address
Items like turnouts, signals, crossings, switches, and uncouplers can be linked to a DCC accessory address. This connects the layout item to the physical device on your layout, so tapping it in the throttle sends the corresponding command to your command station.
Turnouts and signals can have two accessories configured for complex setups (e.g. a signal controlled by two addresses).
Accessory states
Each accessory item has a set of states — turnout positions, signal aspects, crossing states (open/closed), and so on. The configuration sheet lists every state with its icon, lets you enable or disable individual states, and (for items with two accessories) lets you set the address values for each state.
To give a state a custom label, tap its icon in the list. This opens the state editor, where you can enter your own name for that state. The custom label is shown in place of the default state name everywhere the state appears — in the throttle, when selecting a state, and in automation.
Feedback sensor
Track pieces, turnouts, signals, bridges, and tunnels can have a feedback sensor configured. Select the feedback bus and address matching your physical sensor:
- R-Bus — Module and input number (Z21).
- LocoNet — Address (Z21).
- CAN bus — Address and port (Z21).
- ECoSLink — Address and port (ECoS).
When a feedback sensor reports occupancy, the track item changes color in the throttle view. If RailCom is supported, the occupying vehicle's name or avatar can be displayed directly on the track.
Route
Route items can be linked to a route. Tapping the item in the throttle executes the route, switching all configured accessories at once.
Shortcut
A shortcut is an item you can place anywhere on the layout to start a target with a tap. Choose its target — a script, a timetable, a route, a path, or a sound — and pick any icon to represent it. Tapping the shortcut in the throttle starts the target; for scripts, timetables, and routes, tapping again stops it. While the target is running or active, the shortcut shows a highlighted indicator. A shortcut targeting a path lines up the turnouts along that path when tapped; one targeting a sound plays it.
Camera
Camera items can be linked to a camera for Locovision vehicle detection. You can configure which area of the camera frame is used for detection (center, corners, or edges).
User interaction
A toggle that controls whether the item can be tapped in the throttle view. When disabled, the item is display-only — useful for items that should show state but not be accidentally toggled.
Notes
A free text field for your own documentation per item.
Layout in the throttle
In the throttle the layout becomes a live overview of your layout:
- Accessory states — Turnout positions, signal colors, and crossing states update in real time.
- Track occupancy — Feedback sensors highlight occupied track sections. With RailCom, the occupying vehicle is identified by name or avatar.
- Interactive control — Tap accessories to toggle them, tap routes to execute them, tap shortcuts to start scripts, timetables, routes, paths, or sounds, or tap cameras to view the live feed.
- Pan and zoom — Navigate large layouts by scrolling and pinching. Tap the zoom indicator to center the layout on screen.