Shuttle
In this tutorial you will create a shuttle script that drives a locomotive back and forth between two points. The train travels from A to B, waits, reverses, and repeats — a classic model railway automation scenario.
What you'll need:
- A configured vehicle
- Two feedback sensors (e.g. R-Bus occupancy detectors)
1. Layout
Start by building your track plan in the layout editor. For this tutorial we use a simple straight track with bumpers on both ends.
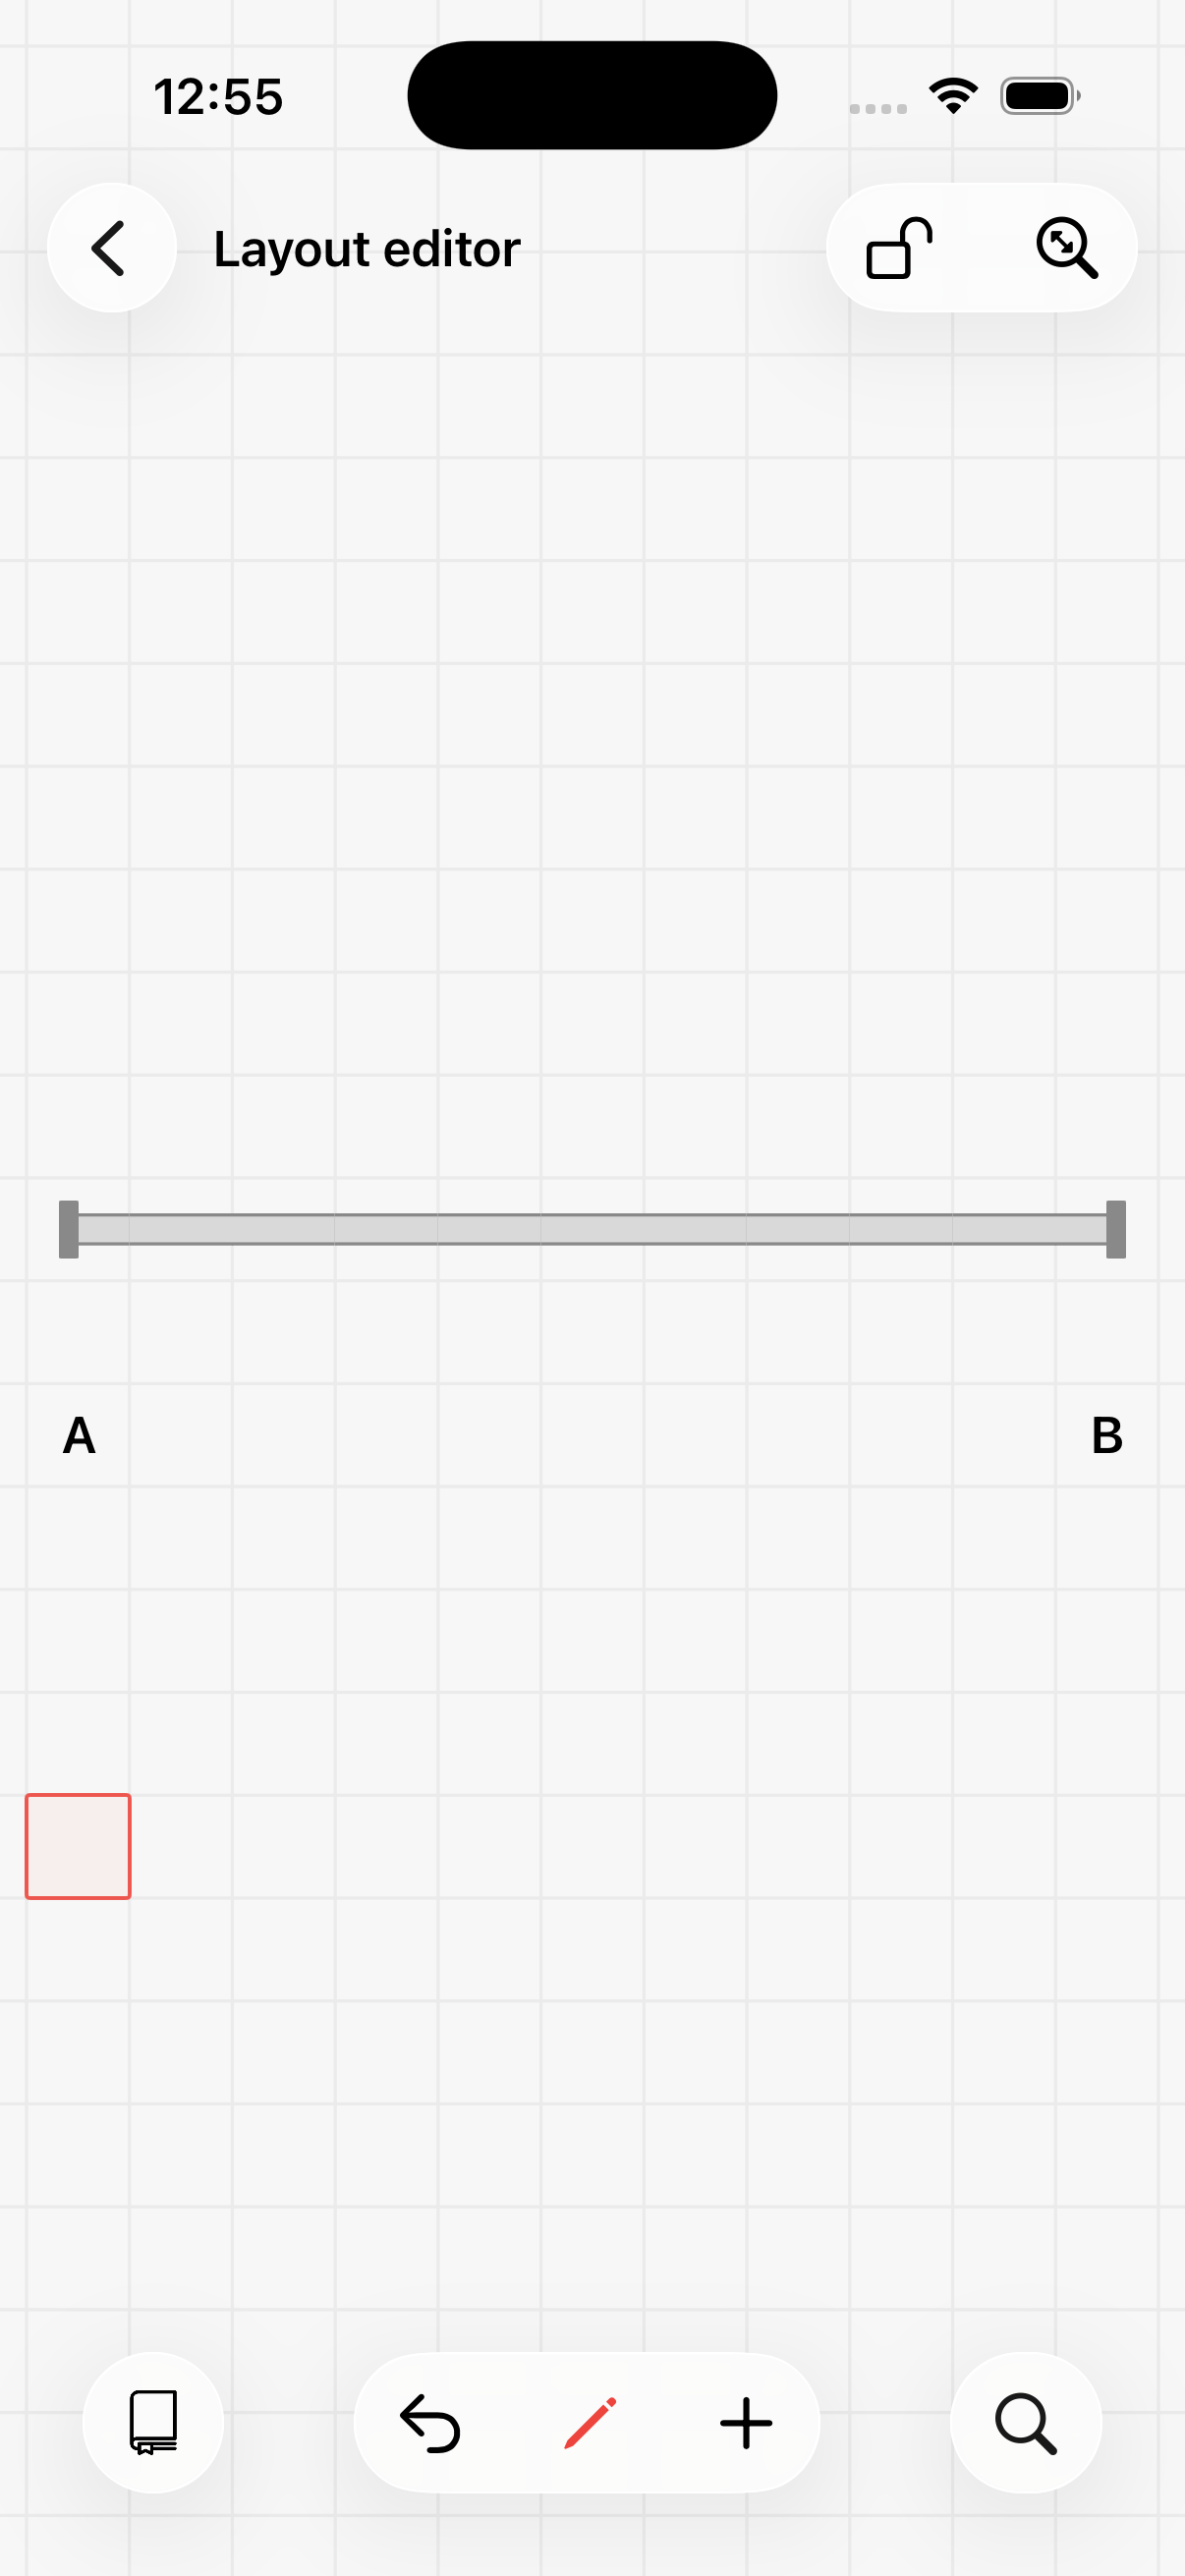
Model Train Script needs to know when a train arrives at A or B, so we configure feedback sensors at both ends. In this basic scenario we use simple occupancy detectors (no RailCom required).
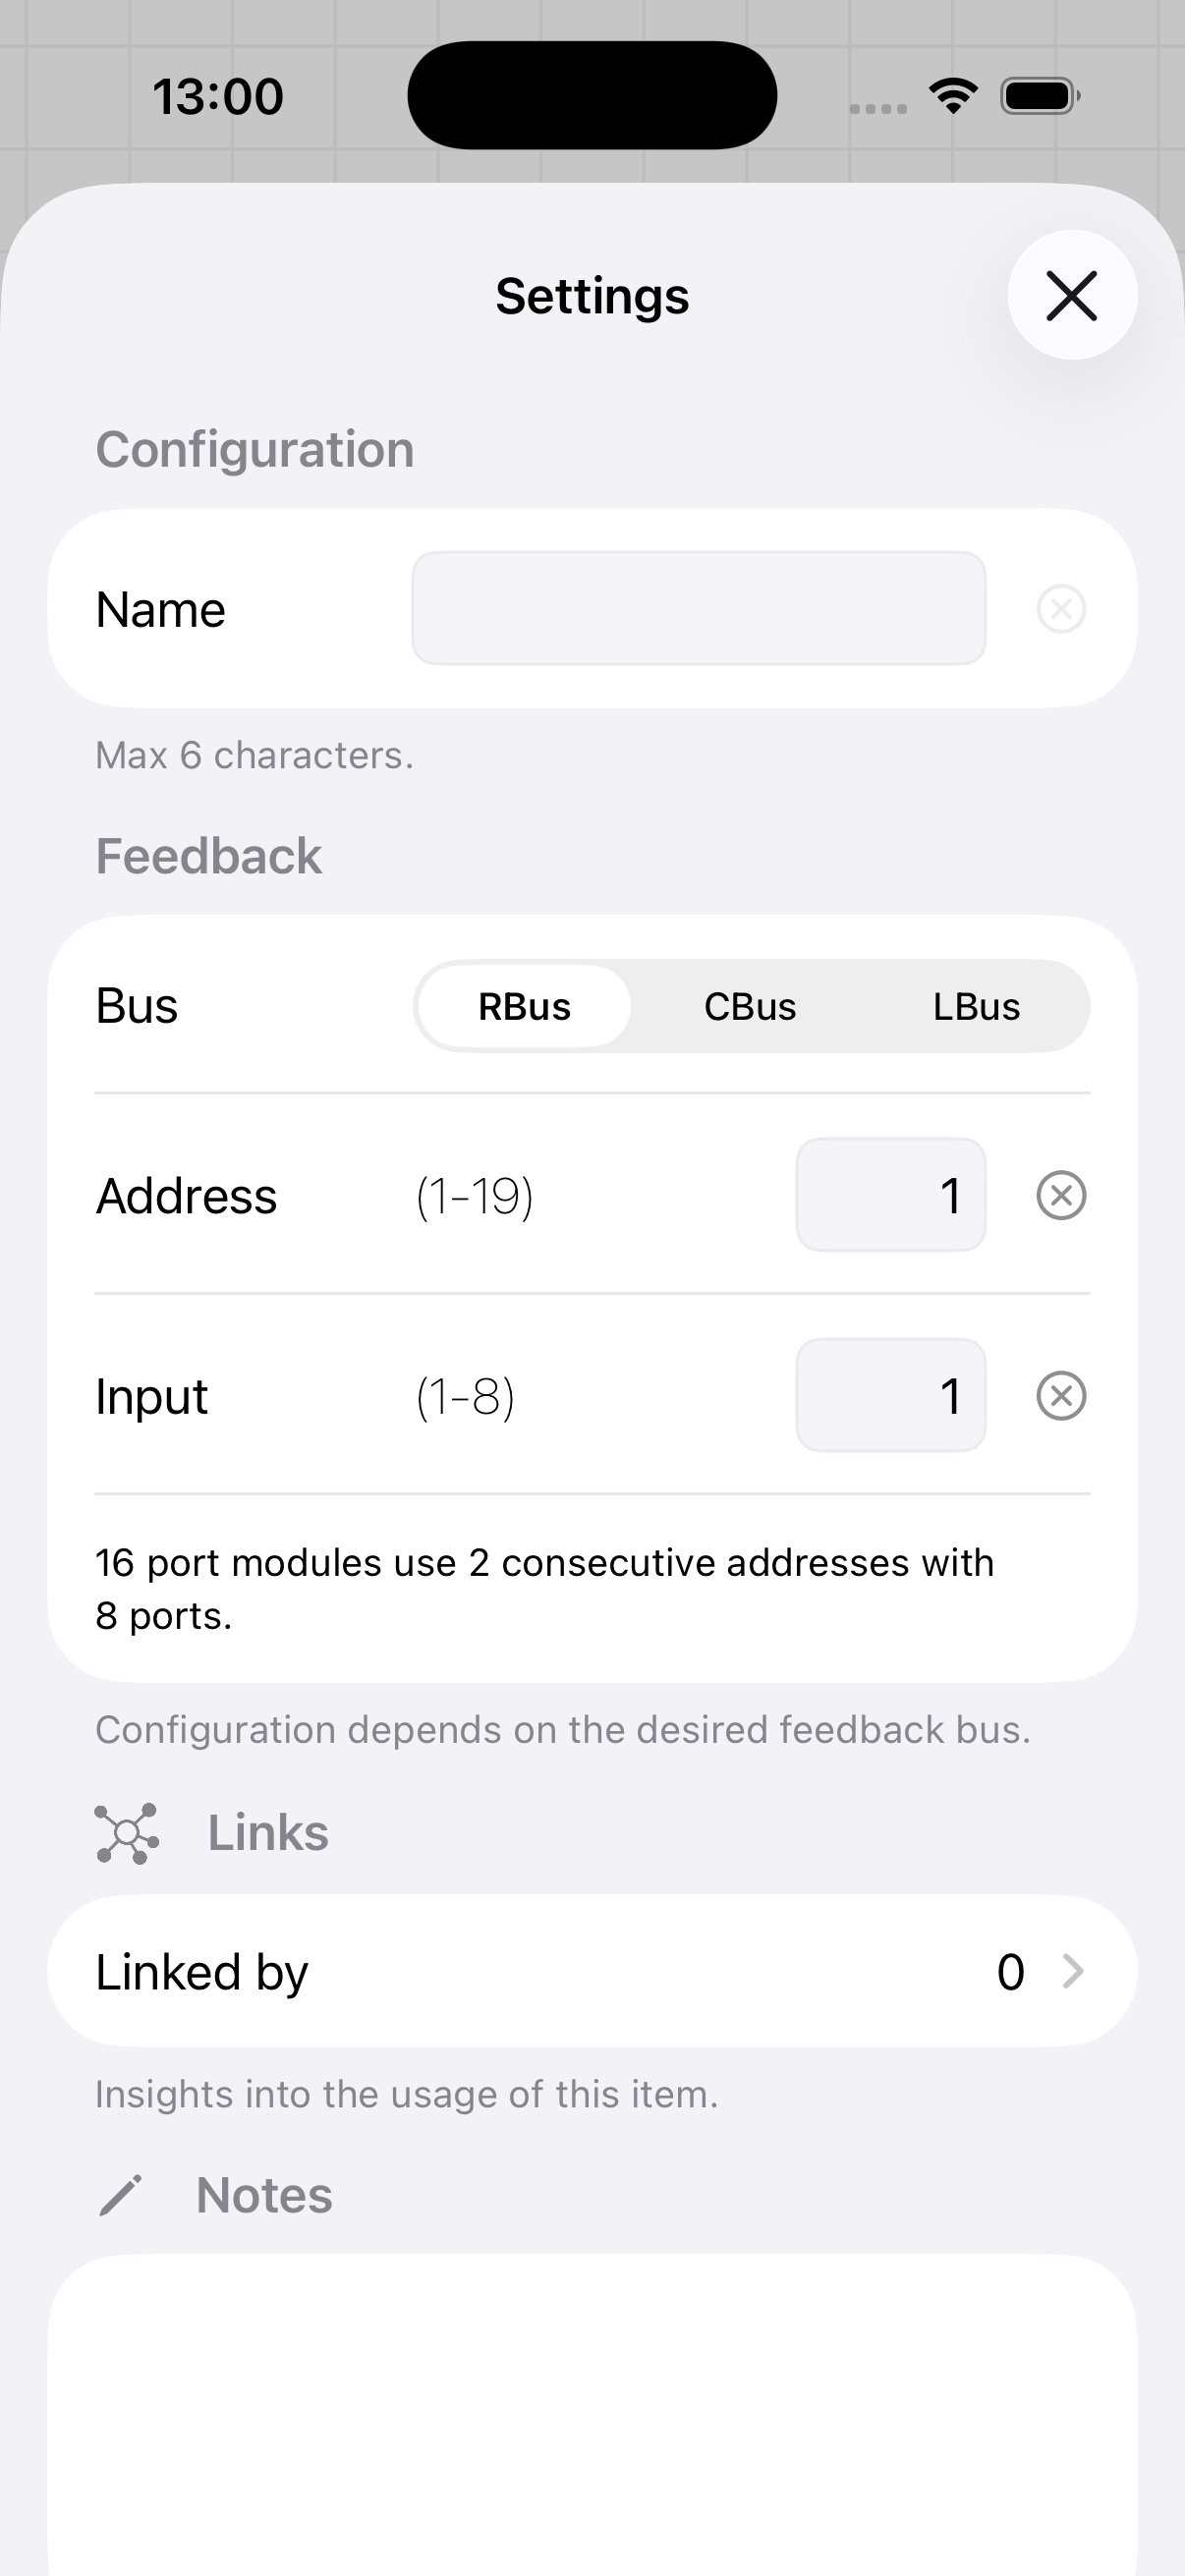
Select the pencil to enter edit mode, tap the track at position A, and open its configuration. Set the feedback to R-Bus module 1, port 1. For B, use module 1, port 2.
After configuring, the layout shows darker track sections indicating that feedback sensors have been assigned.
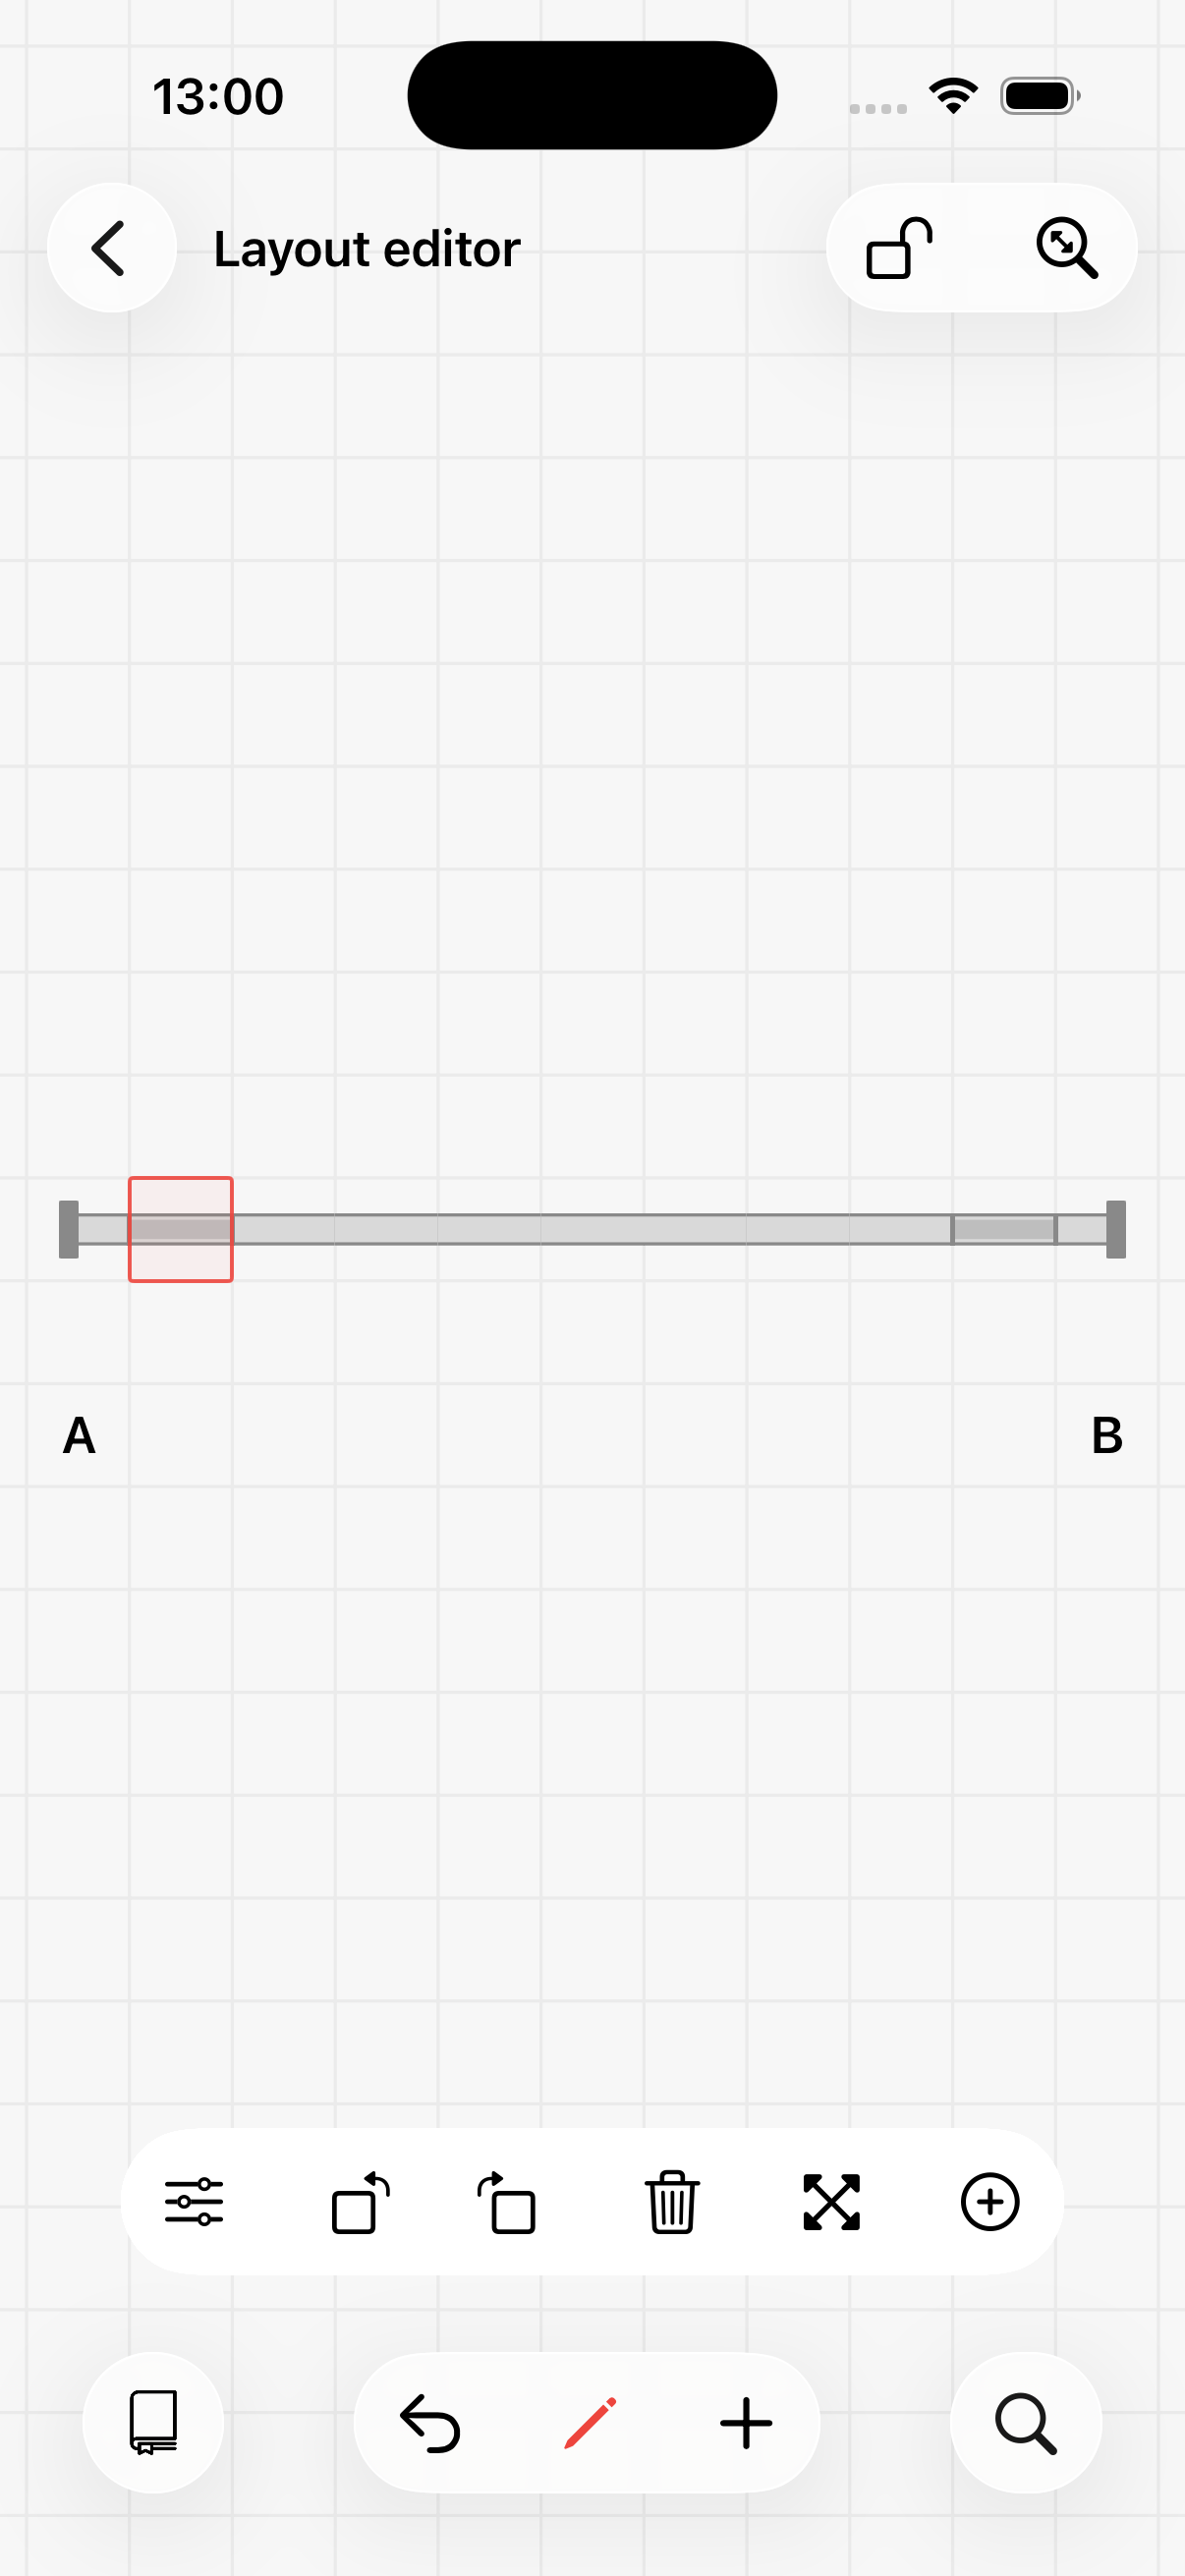
The layout is ready — time for some automation!
2. Script
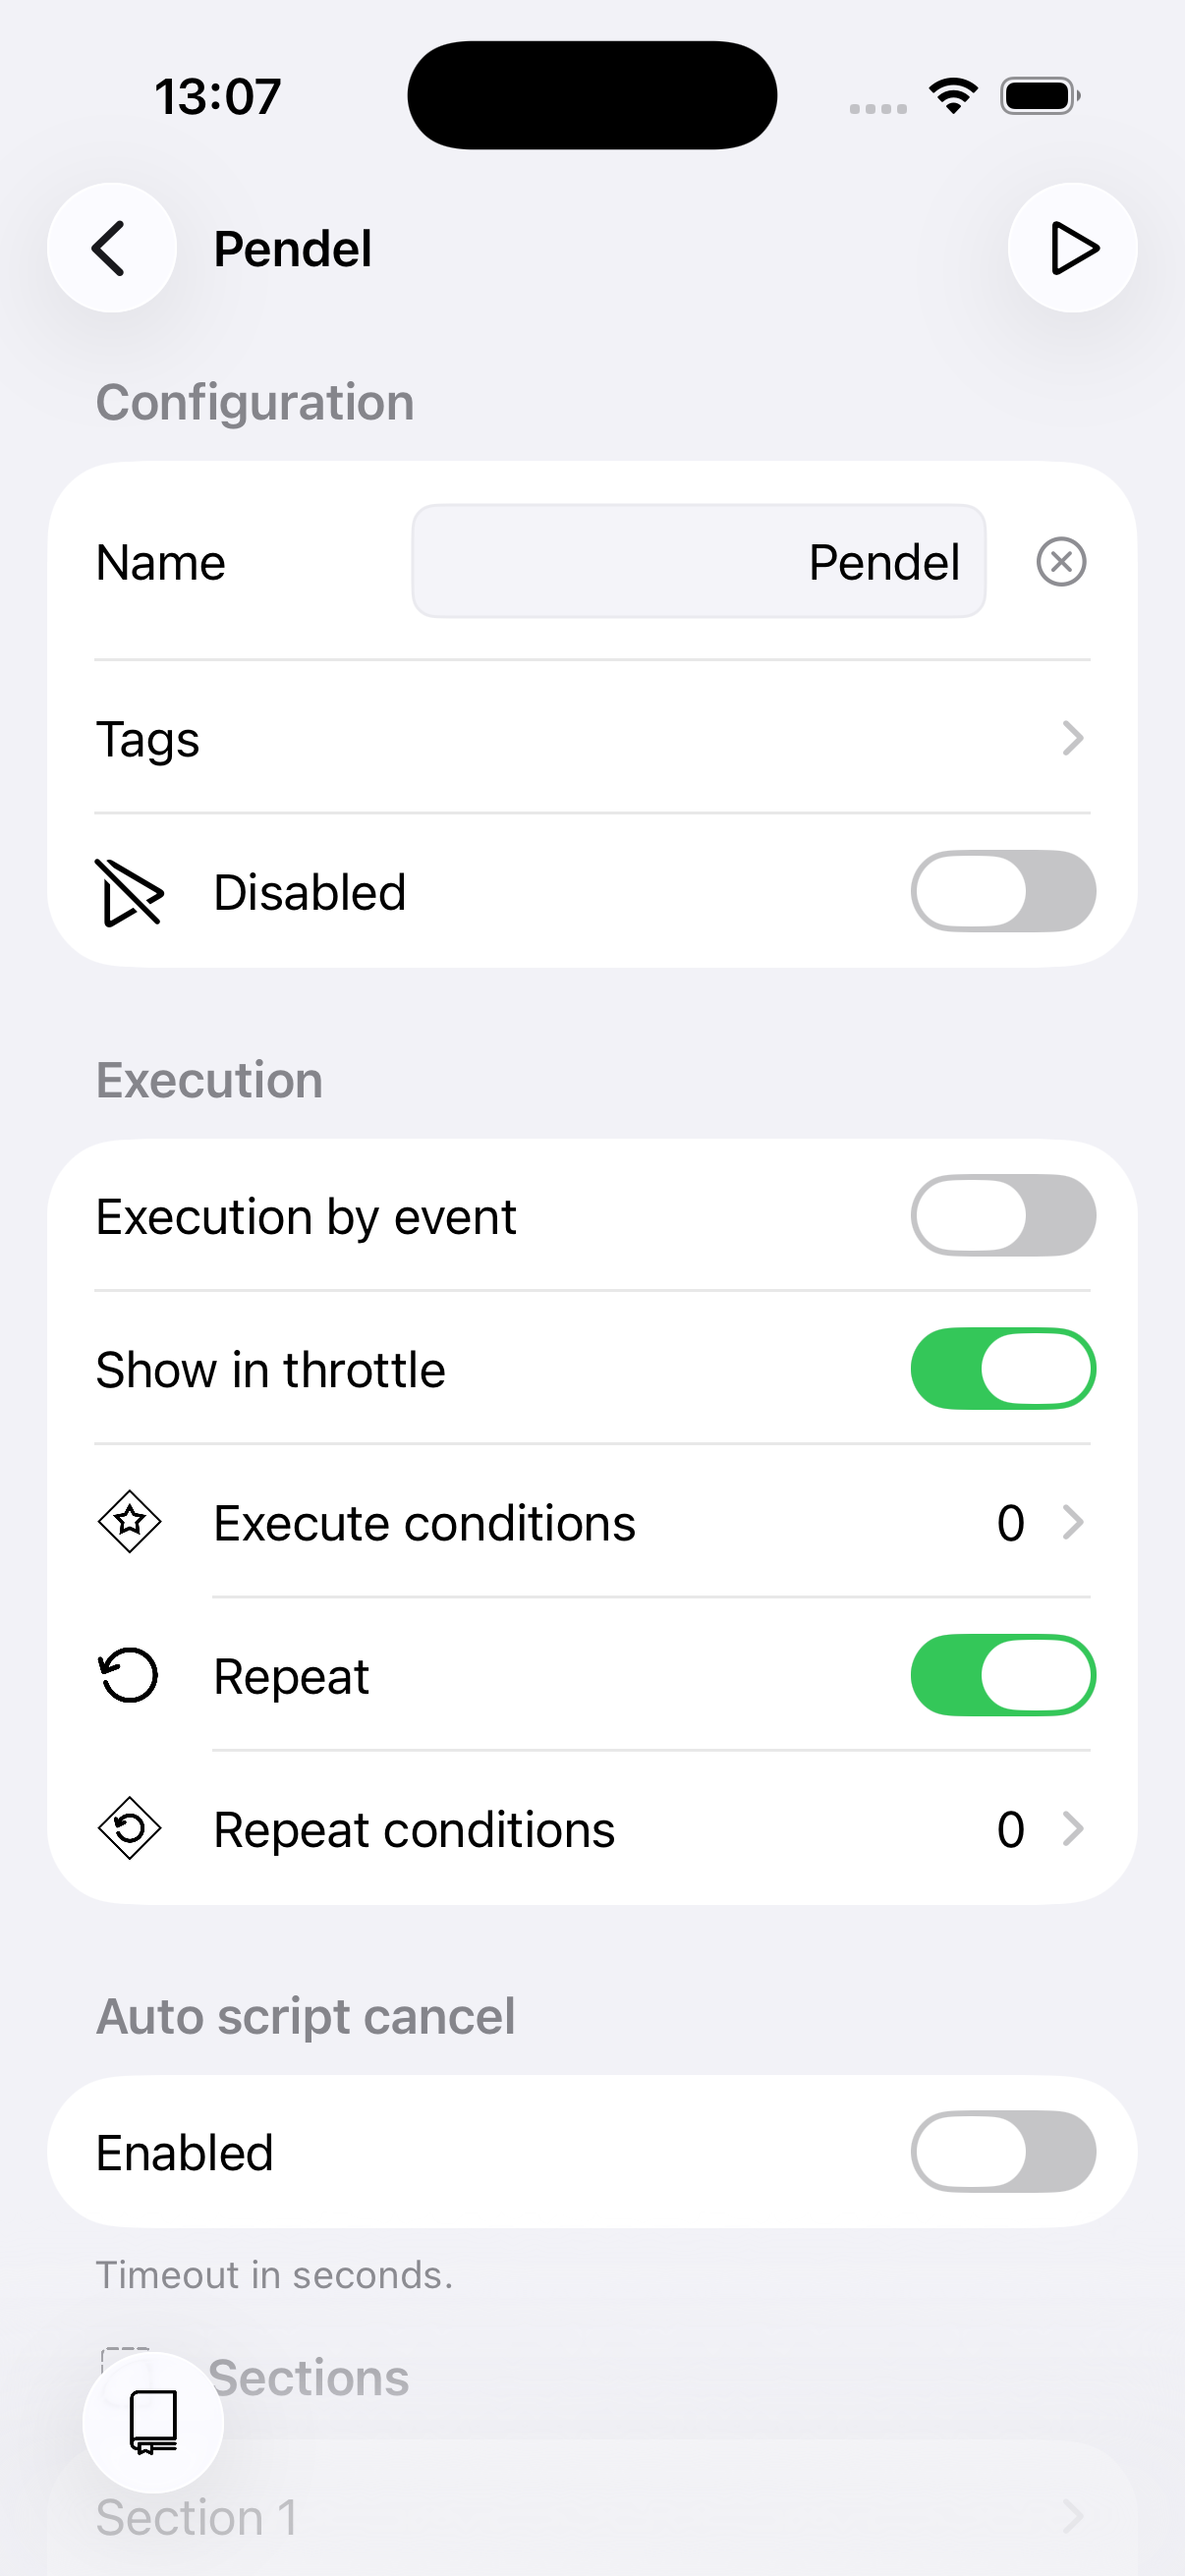
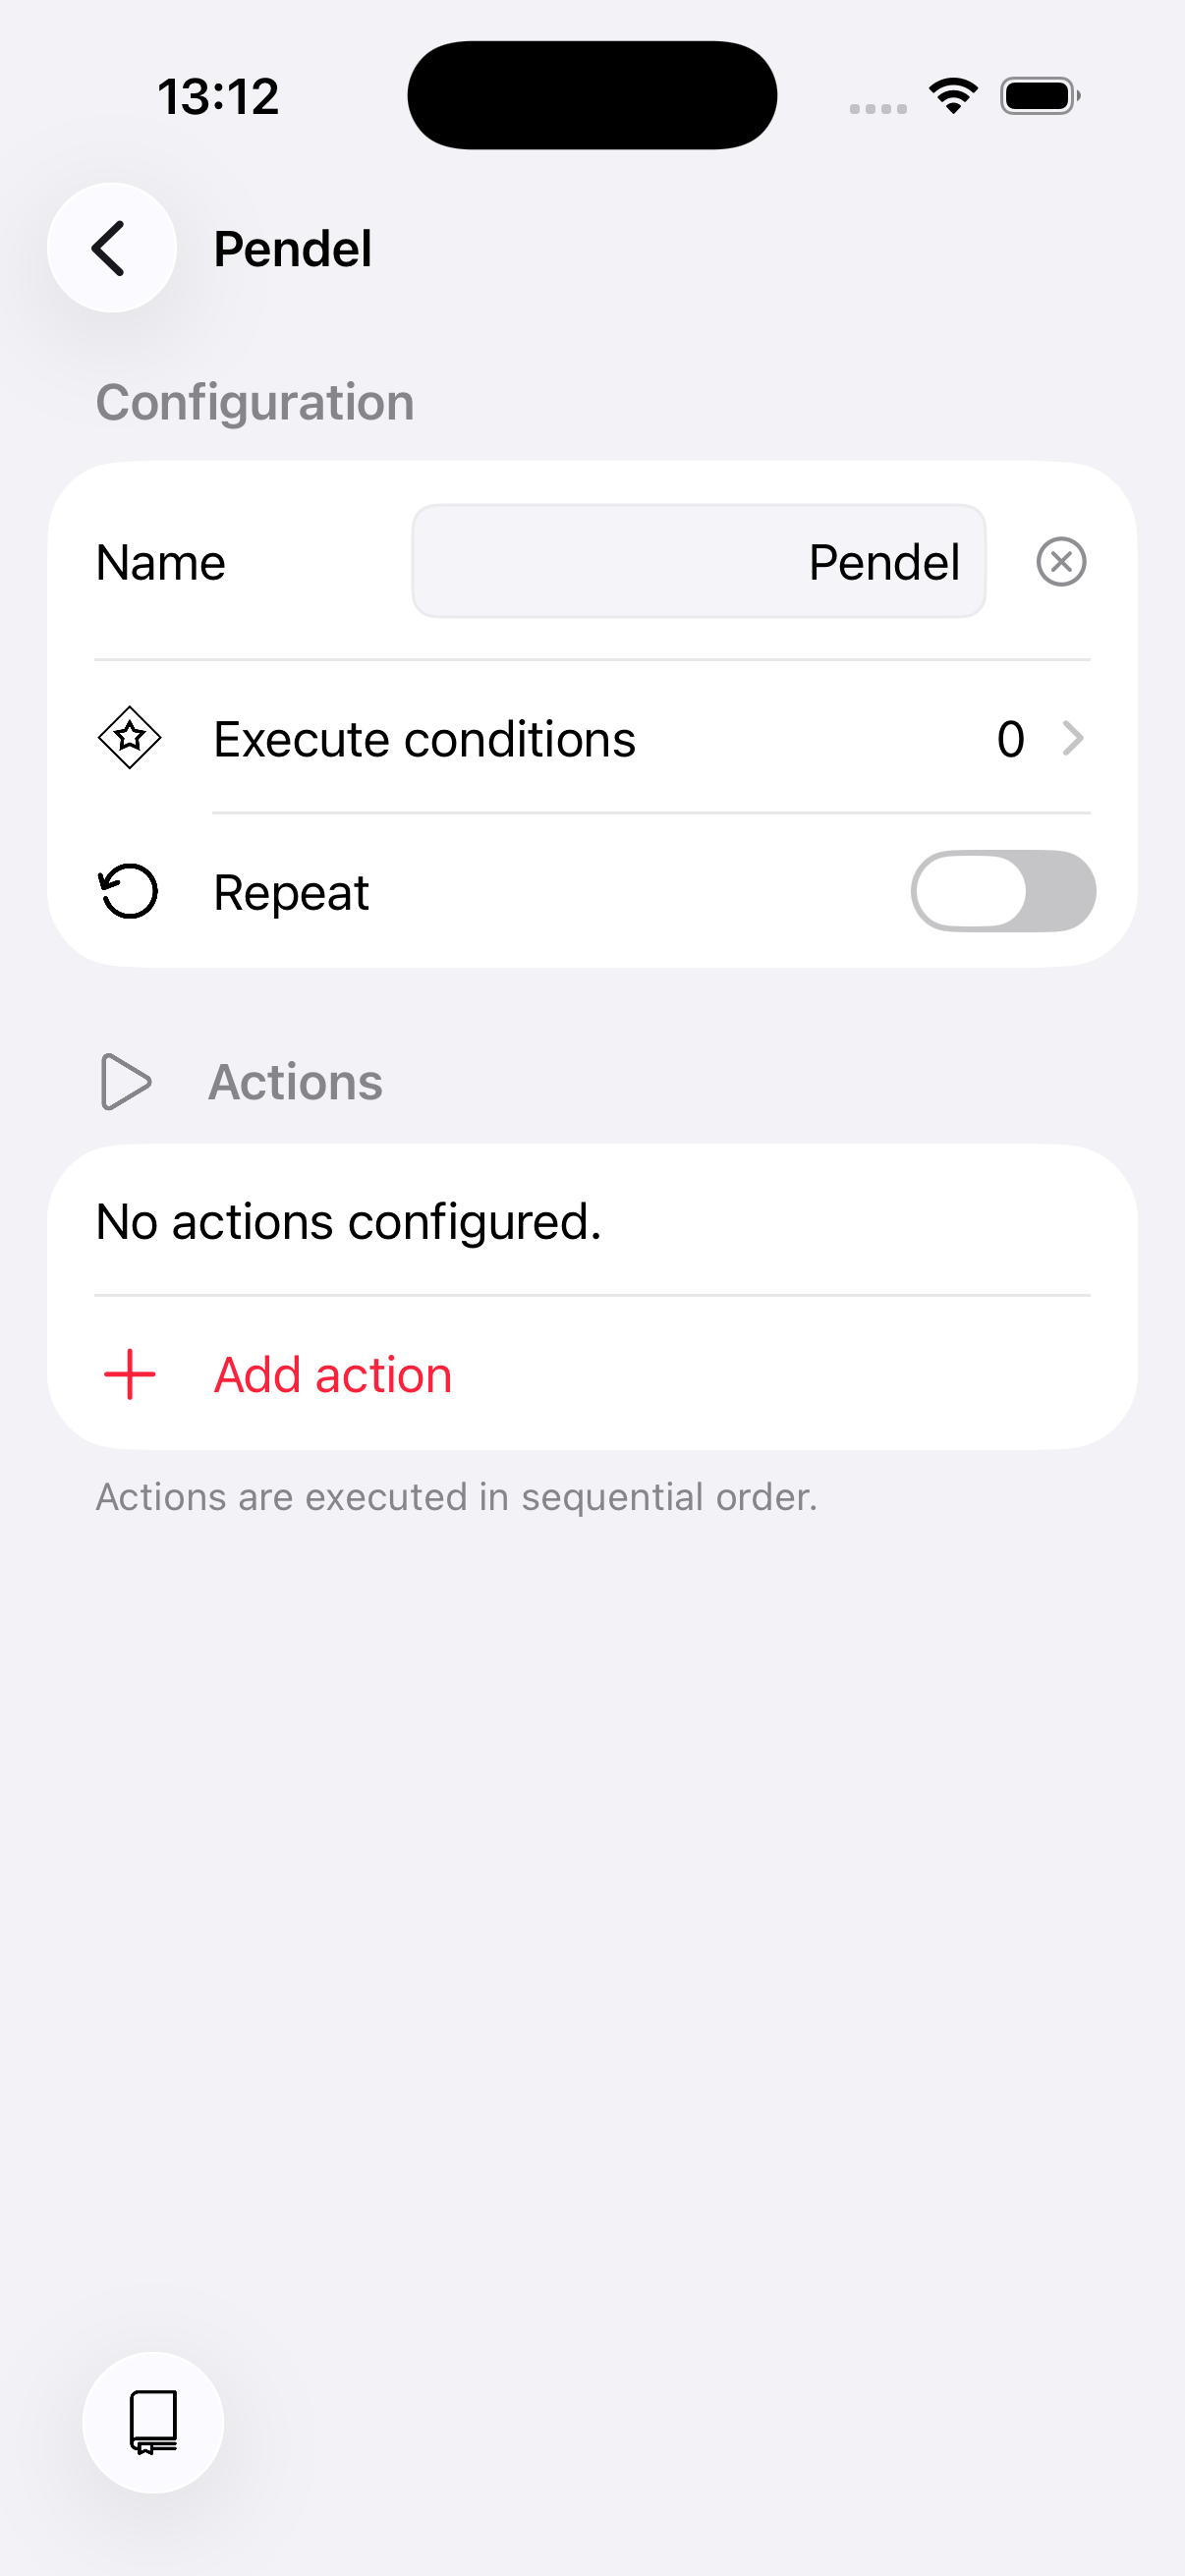
In your profile, go to Scripts and create a new script. Give it a descriptive name and enable the repeat option, since the train should shuttle continuously.
Open the default section, rename it to "Shuttle", and delete the default wait action.
Now add the actions for the first half of the journey. Select your vehicle, set the direction to forward, and set the speed.
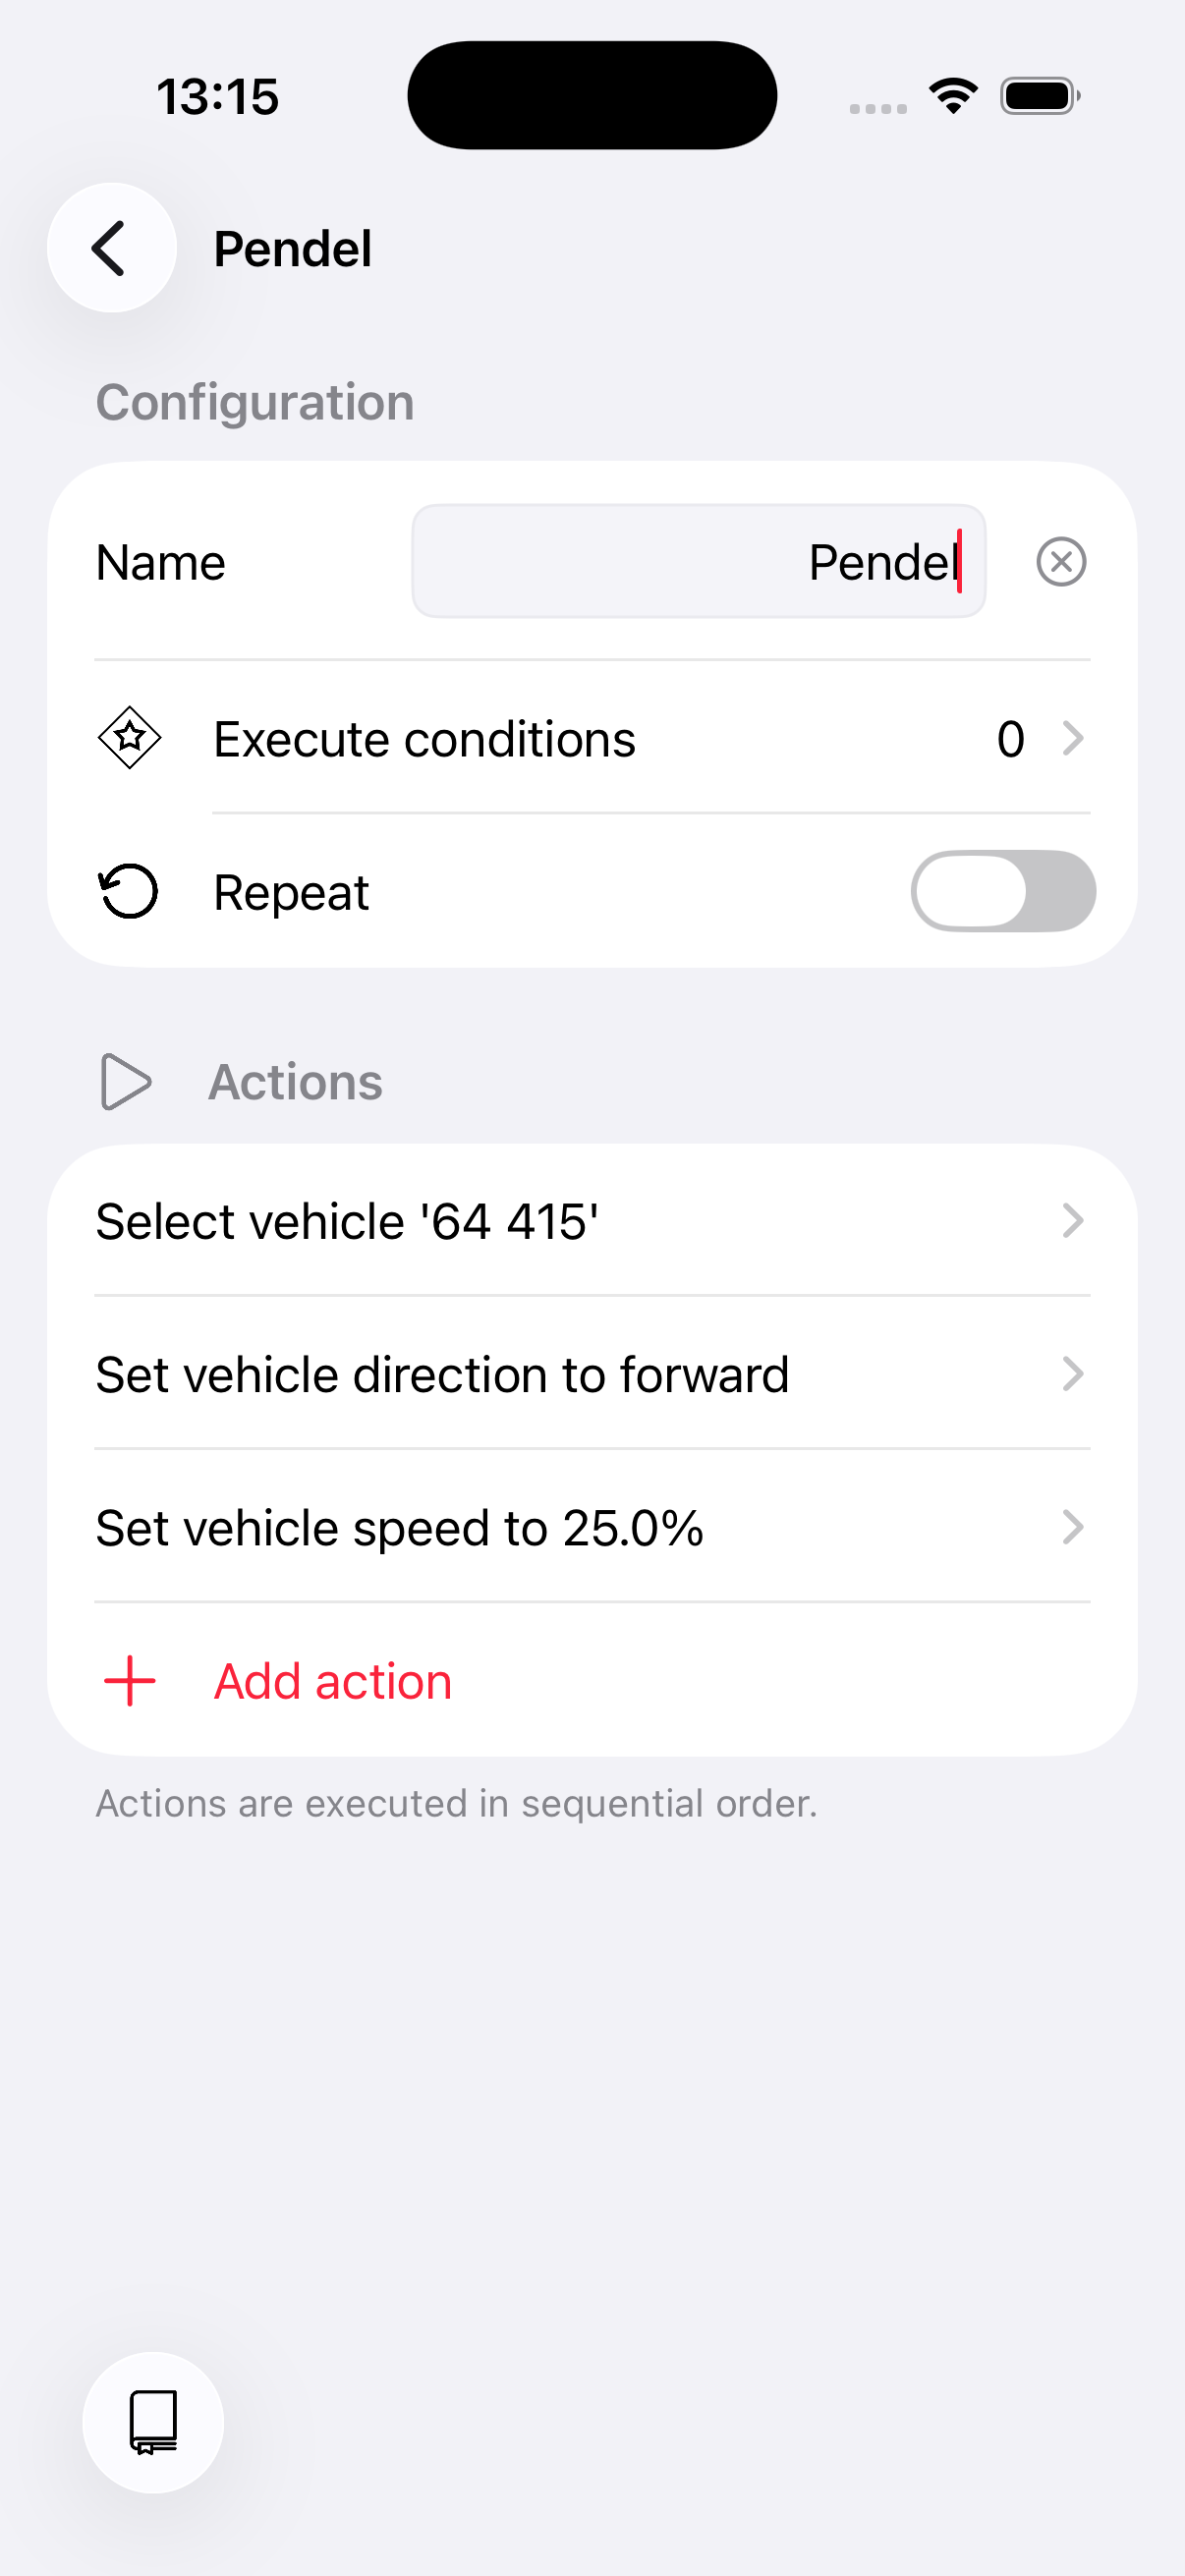
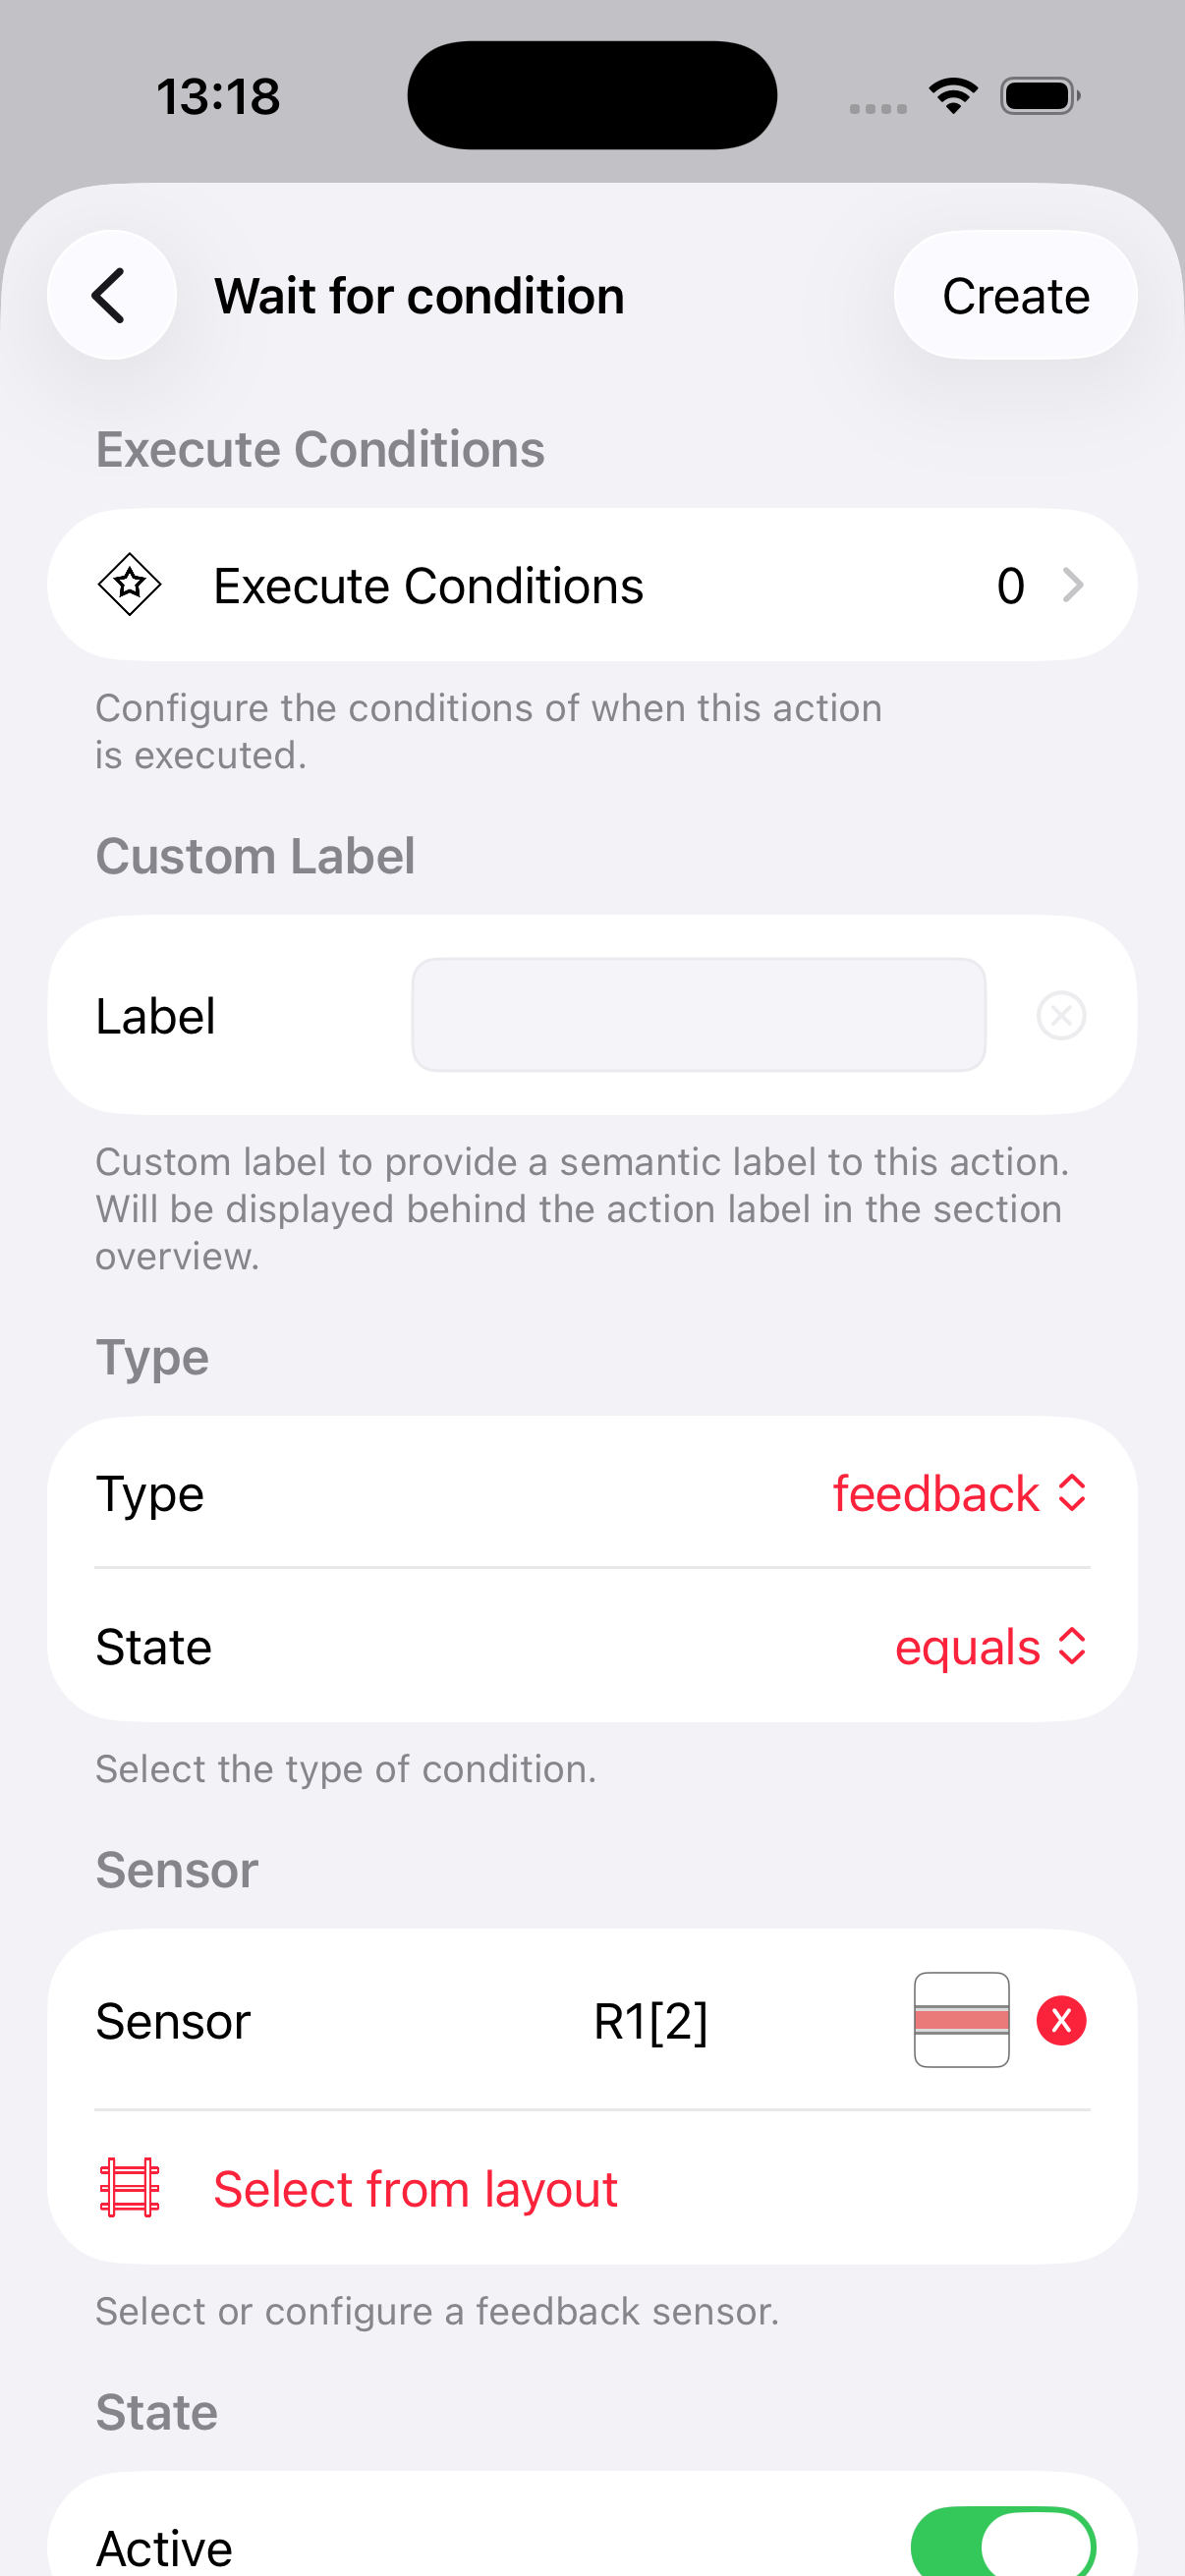
The train is now moving towards B. Add a Wait for condition action to pause the script until the feedback sensor at B reports occupancy.
When the train arrives at B: stop it, wait 15 seconds, and reverse direction.
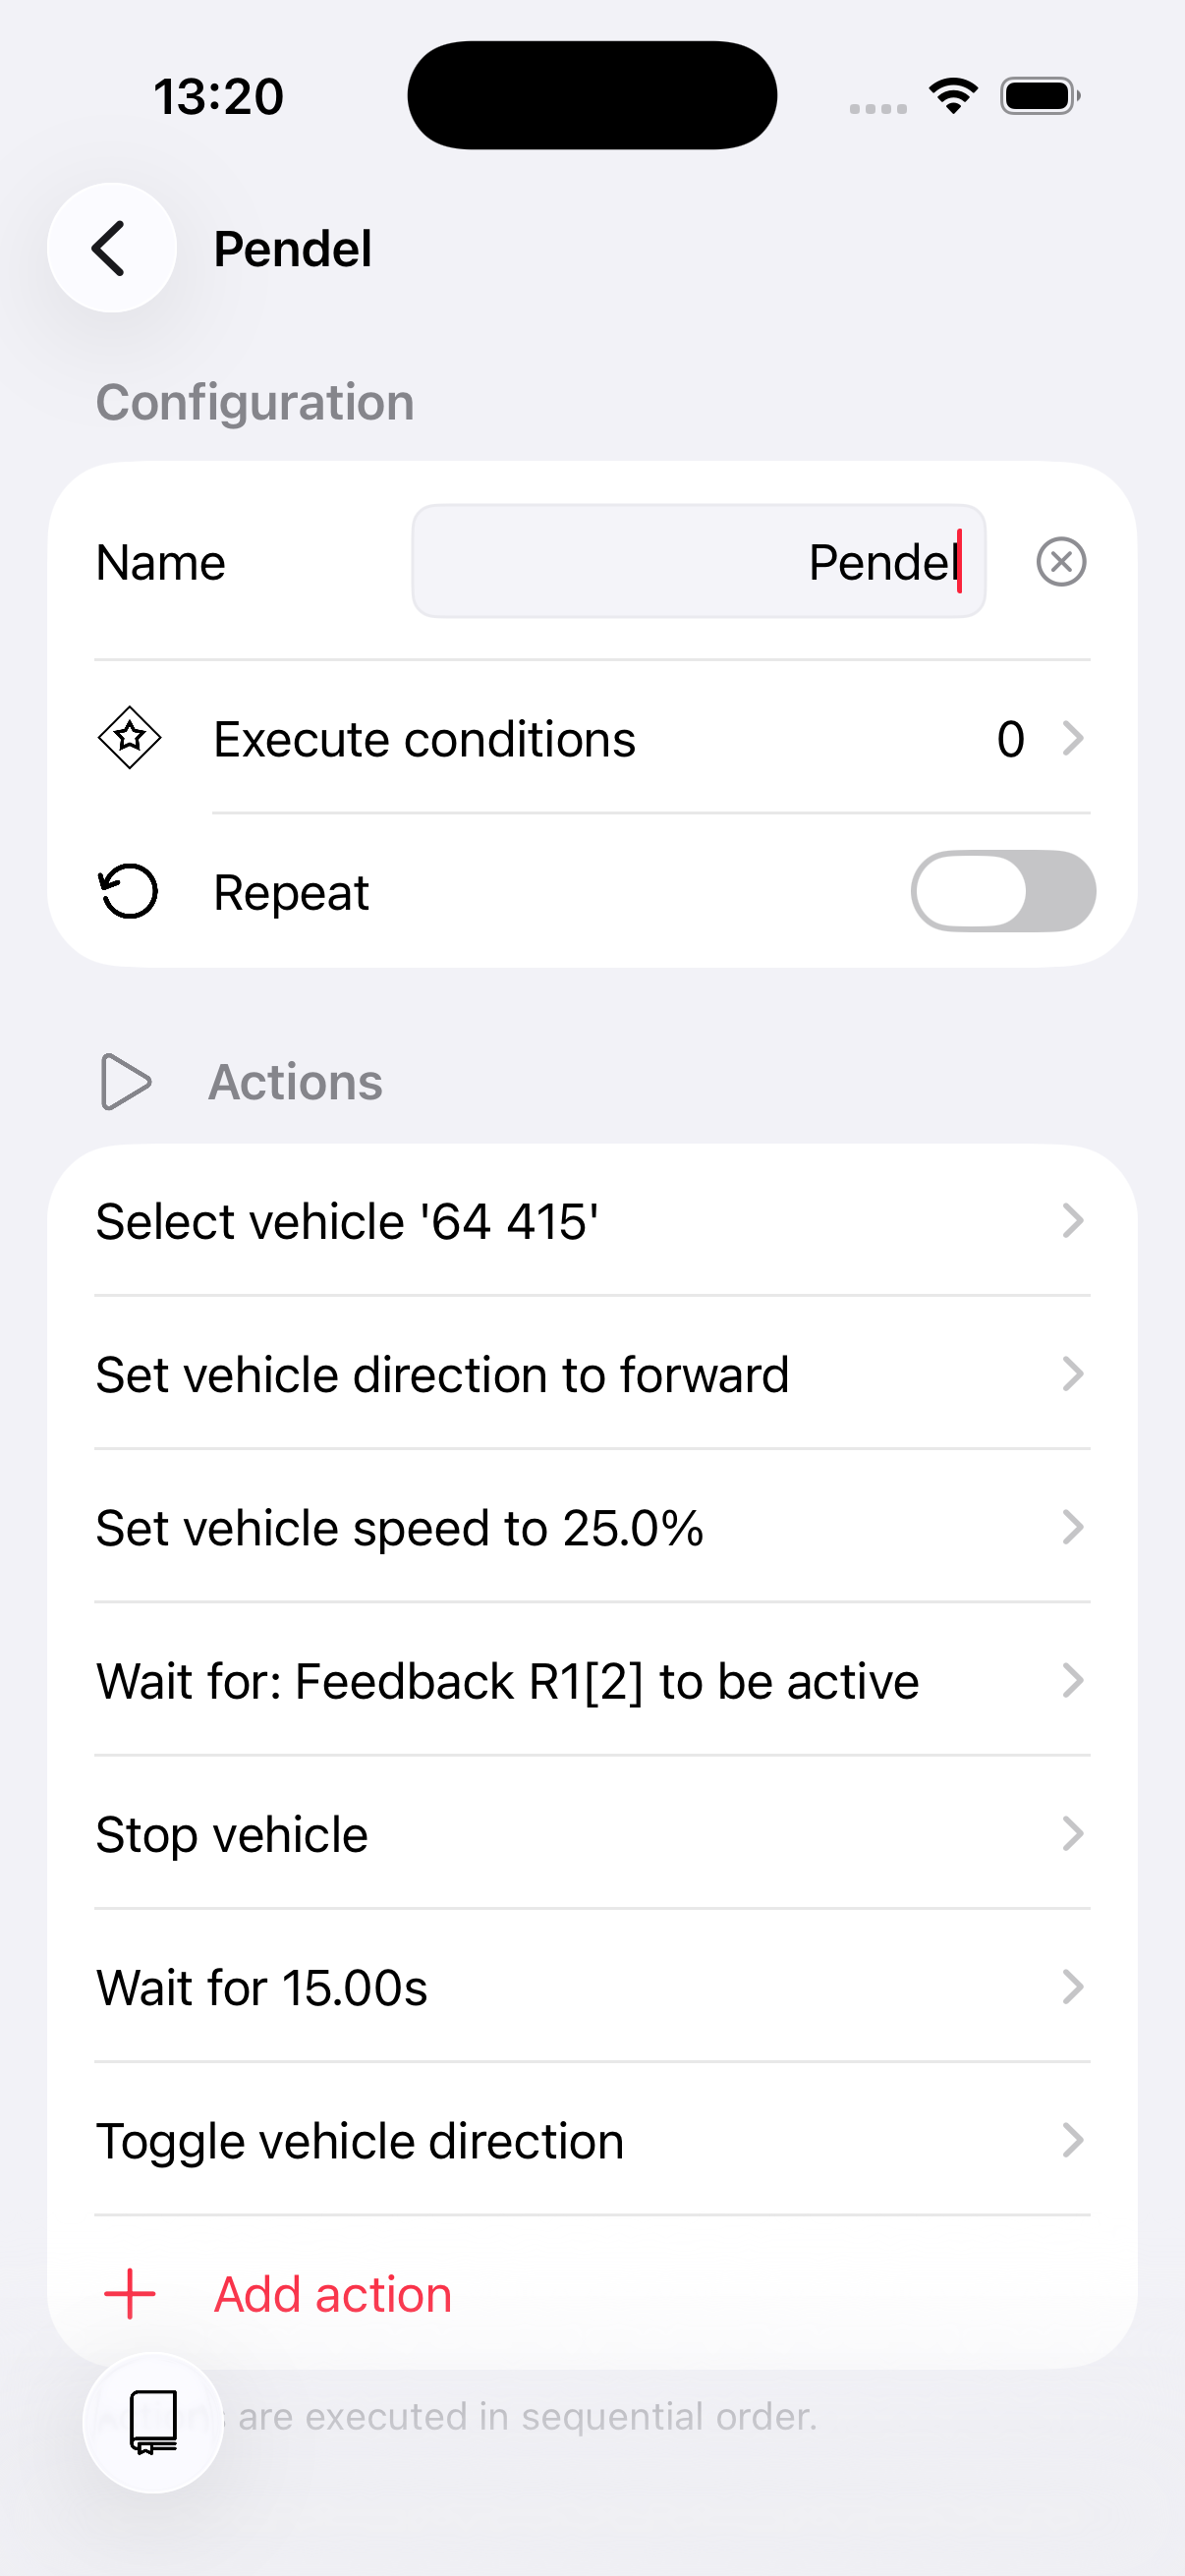
Now repeat the same pattern for the return trip to A: set speed, wait for the sensor at A, stop, wait, and reverse.
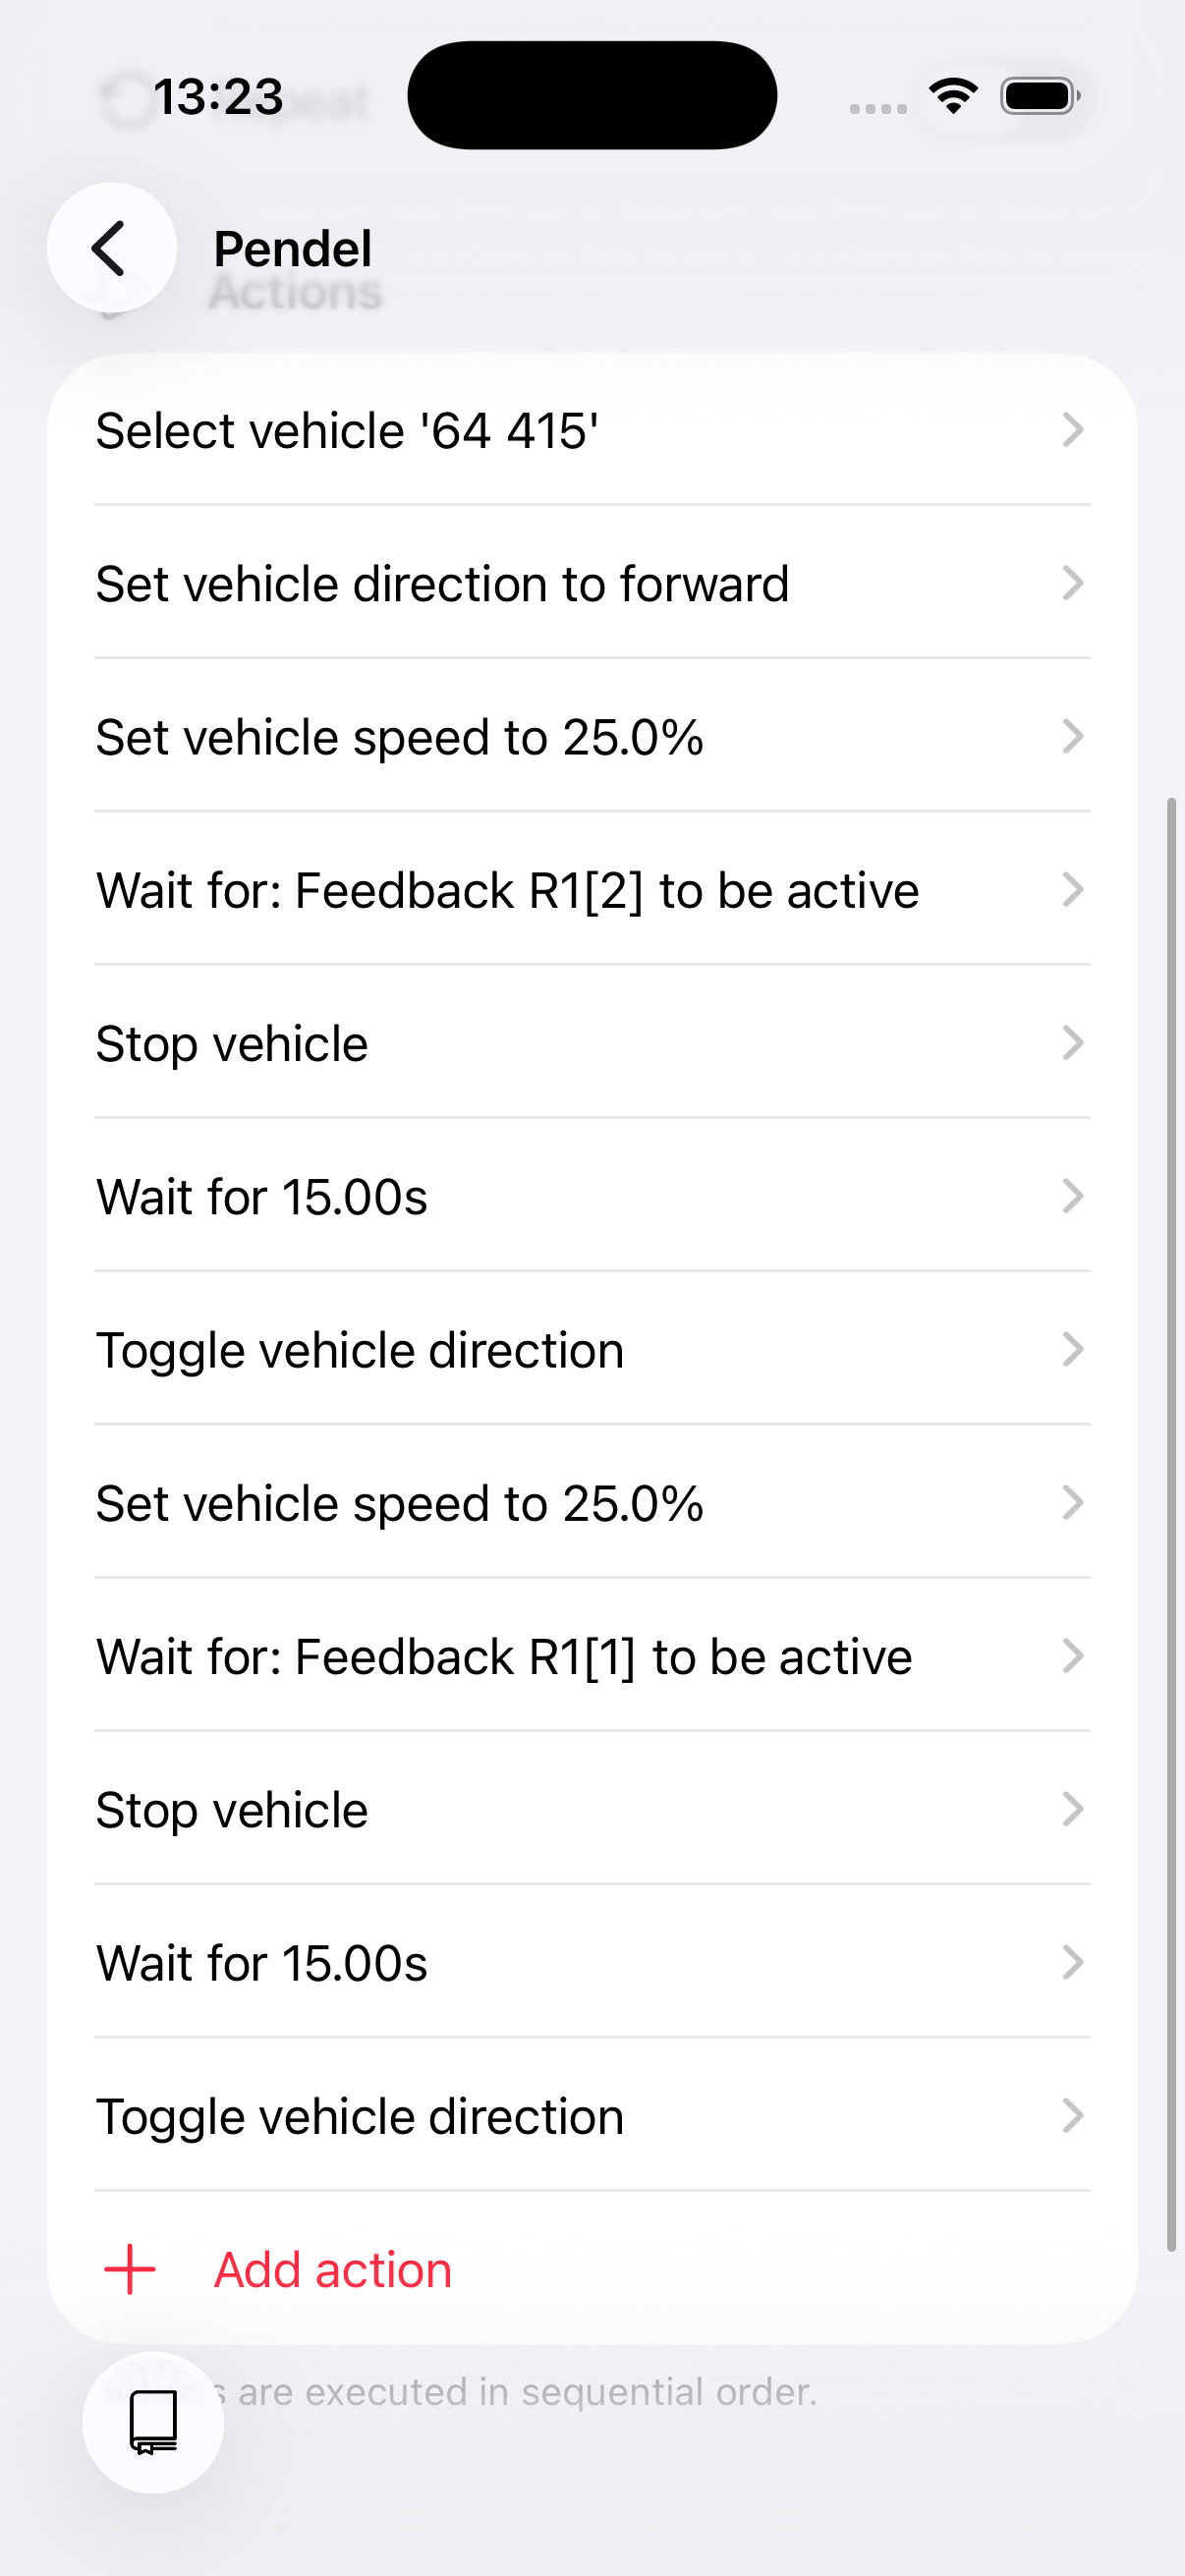
The script is complete!
3. Running the script
Start the shuttle from the script editor or from the automate tab in the throttle. With repeat enabled, the script loops until you stop it manually.
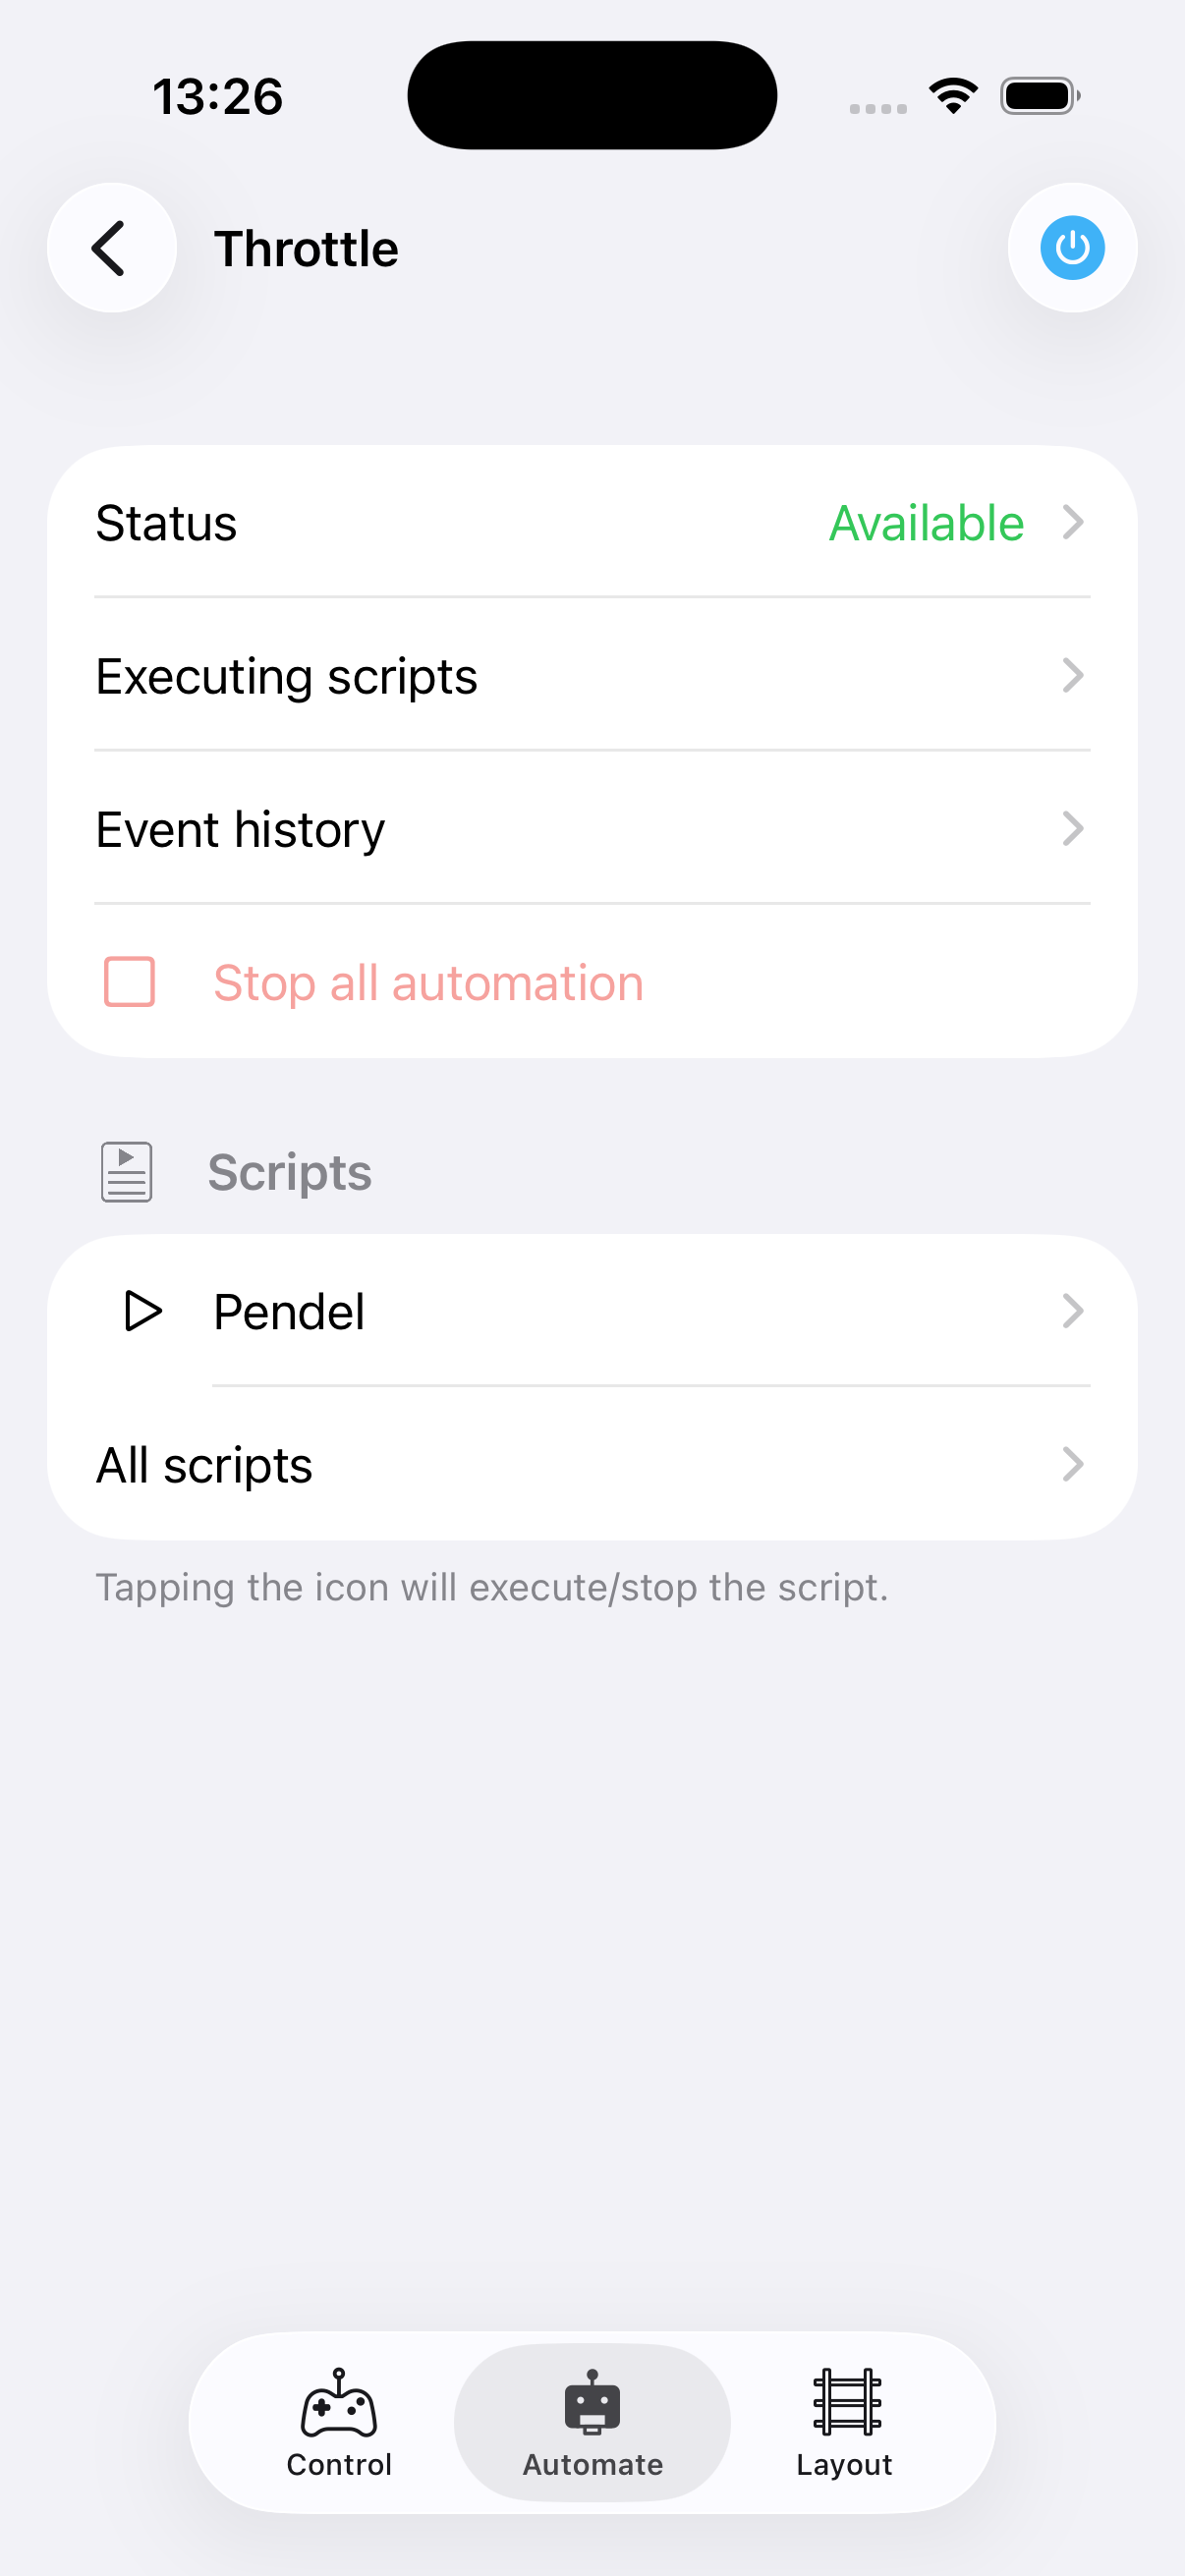
Enjoy your shuttle!
4. Ideas for improvement
We kept this tutorial simple. Here are some suggestions to take it further:
- Use separate sections with descriptive names like "Travel from A to B" and "At station B" for a better overview.
- Use RailCom to detect which vehicle is on the track instead of selecting one at the start. See the RailCom tutorial.
- Use vehicle profiles to define speed and functions centrally, rather than configuring them directly in the script. This makes it easier to adjust driving behaviour later.